Keyboard Maestro's "Activate Clipboard History Switcher" macro – with a twist
Short story:
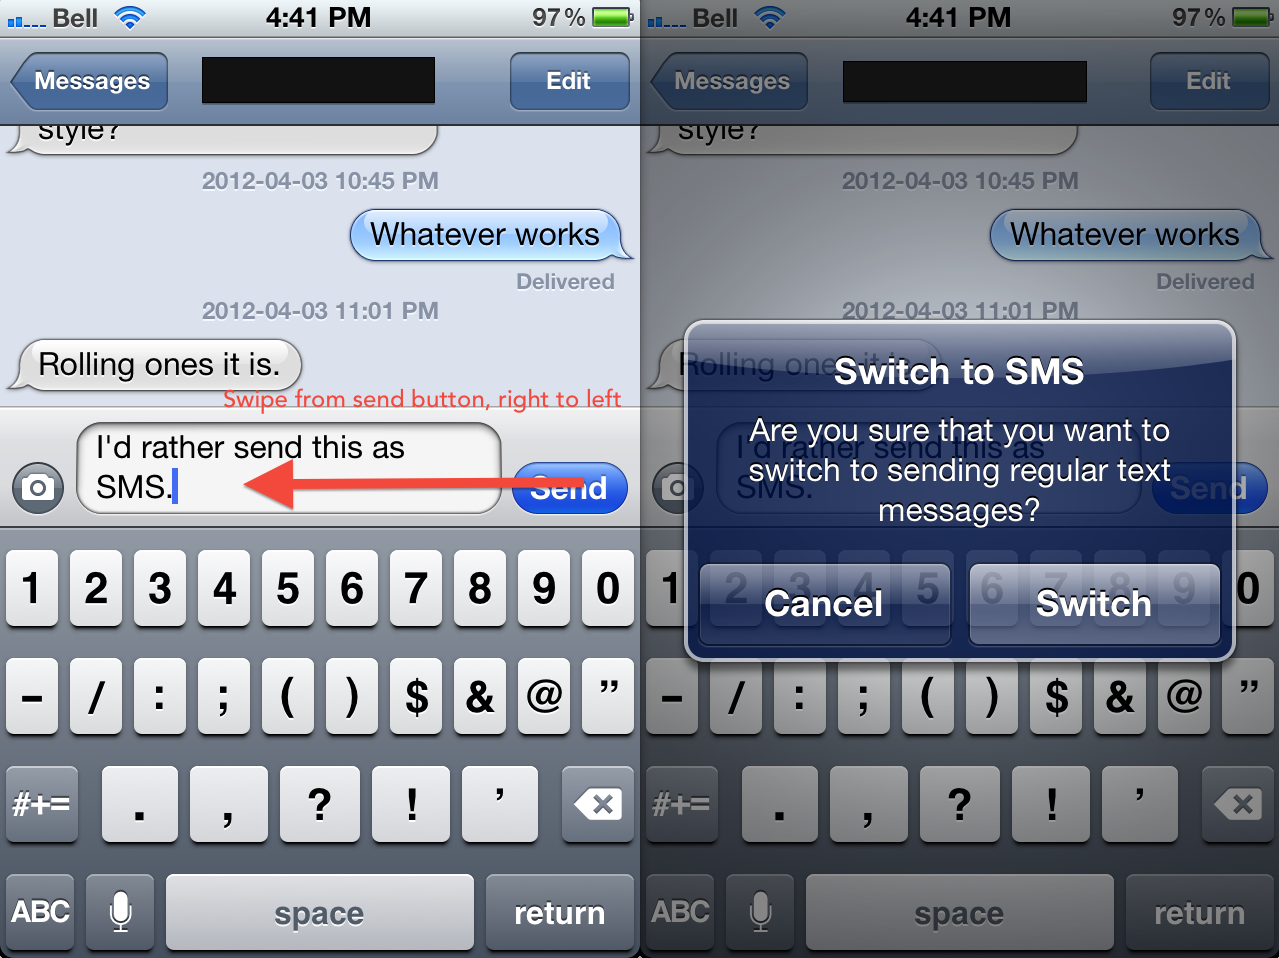
This macro allows you to hold the ⇧ key to select the search field (after a 1 sec. delay). You can just activate the History Switcher as before. If you release the buttons (quickly), you can scroll through the list using ↑ and ↓.
If you hold ⇧ a little bit longer though, the search field gets selected and you can start typing.
Long story:
Kaushik Gopal had a really nifty idea for Keyboard Maestro. He is(/has been) using a delay action in a macro to determine whether a certain subaction is executed or not. I really liked that idea and just put it into use.
In Keyboard Maestro there’s a default group named “Clipboard”. It contains several macros to work with the built-in Clipboard History Switchers.
The one I use most is the simple “Activate Clipboard History Switcher” macro, which simply toggles the history windows on and off.
When it activates the history of clipboard entries is selected by default, but not the search field, which I use often.
I always found it annoying to reach for the mouse just to reach that search field. I’m using this feature when I publish a new screencast for Mac OS X Screencasts. I put the link of the video thumbnail jpg on the clipboard, but it is frustrating to keep track which entry was which when I had, say, the screencast location or the blog entry on the clipboard. Long entries get truncated, which doesn’t help either. Thus the search comes in handy.
EDIT: You can actually just hold the key combination used to activate the switcher. No need to “quickly” release all keys except the ⇧ key. (which makes this much easier to use)
Post Haste is an app for creative professionals. It allows you to create templates for projects, consisting of files and subfolders. You can add every file you want, with the click of a button, Post Haste creates a new folder with all your template files so you can start working right away.
It looks really easy to use, it’s free and it’s much easier to use than my own Template Folder Maker.
The fantastic iPad MIDI sequencer Genome has dropped in Price – dramatically.
The current trend with the music apps on iOS is that you can run them all on your device simultaneously. With Genome you sequence a pattern and let Animoog let it play. I’m sure this trend will continue, it feels like this is the right direction for computer musicians to head.
Get Genome now, that’s my recommendation.
This is probably relevant for many of my readers and followers. In my work environment I need to constantly move forward and learn new things. For about 3 months now, I’ve been reading, watching, and generally learning the topics “motion graphics design” and “design (generally). Before that I learned about “marketing”, “project management”, “money”, and “accounting”. Before that I got into things like “video encoding” (for my screencasts), “video editing”, and “management (generally)”. All to become better at what my job requires and to accommodate for the changes I was facing.
Along the way there were many things I can now see as my “go-to-points” to find new information. This article is meant to help my readers to get better at whatever they have to get better at.
Google & Wikipedia
The most obvious source to find out about new things is Google. To get a grasp about a topic, e.g. social media marketing, marketing strategy, etc., I tend to search on Wikipedia even. I like Wikipedia a lot to get a general overview of something.
Normally I would use Safari’s Reader function to format these articles in a way they are easier to digest. Longer articles get Instapaper’d.
I try to set time aside to read articles and watch tutorials. Normally I do this in the evening hours. Depending on weekday the time shifts from 8pm to 10pm.
Google is useful when I already got into a certain topic already, have a general understanding of the terminology and an idea of what terms I can search for. Using Google or other search engines, you can find many interesting and relevant articles on blogs, forums, etc. Instapaper is my friend when I want to read these. I try to share as much as I learn on this blog.
YouTube & Vimeo
Video pages like YouTube and Vimeo are great to find (amateur) video tutorials. Sometimes you find tutorials by people who are really great with a certain tool or topic, but their screencasts are simply not as good. Not everybody is a professional right?
You can bookmark videos using Spool or myPlex.
Quizlet & FlashcardExchange
Lately I discovered the joy of Quizlet and FlashcardExchange. I’m using Mental Case to learn new vocabulary for many years now. Ever since the new Mac version was released, I didn’t realize how valuable Quizlet is to learn acquire new knowledge. Recently I was wondering about a list of shortcuts for Final Cut Pro X. It turned out there is a shortcut list in the manual. However, that one is a tad long, I was looking for something more compressed, to put on my cork board. Luckily someone created a collection of shortcuts he or she wanted to learn on Quizlet, so I was able to import their flash cards into my flash cards.
Conclusion
Depending on the topic you want to learn, you probably need to pick a different starting point. As mentioned in this article, Wikipedia and Google are most of the times recommendable to start with. I find myself using all of these. In the end, the most important thing is to keep studying and moving forward, otherwise you simply won’t learn new things. Appreciate the changes, realize how bad you are, it’s all part of the process of getting better at something.
I’m investigating again options and interest for a live tutorial. I’ve done this privately now already. It seems feasible. Now I would like to ask for your feedback, please.
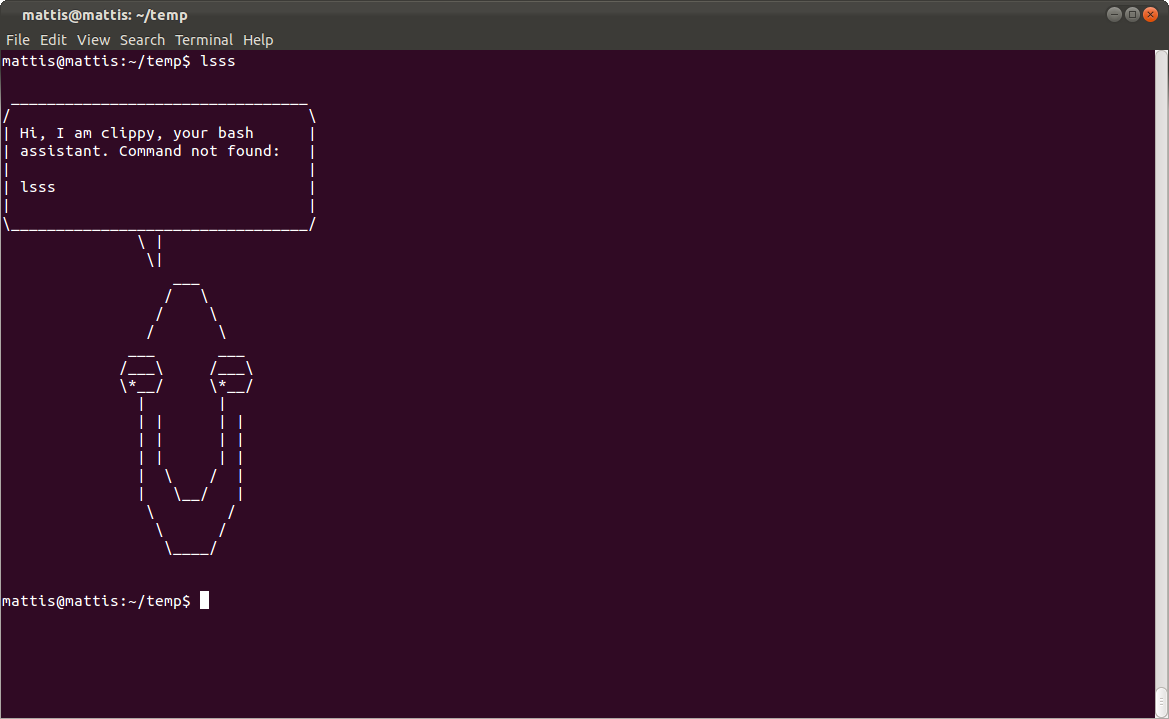
I like this idea a lot. Don’t backup the Download folder, but keep a text file with the contents, so that it’s easier to redownload all the stuff. I’d say one should automate this task with Hazel or Keyboard Maestro.
Let’s say to run once an hour:
ls -R ~/Downloads > "$HOME/Documents/Downloads History/$(date "+%Y-%m-%d %H-%M") Downloads.txt"
This way you could have a history of your downloads in the Documents folder with a date added. Thus Time Machine would backup the file and you’d have an easy overview of the last status.
Of course one could run this less often than once an hour.
"Tedium allows you to easily manage multiple Time Machine backup destinations. Simply add your Time Machine destinations and then switch them at will. Combined with ControlPlane, Tedium is able to automatically change your backup destination based on where you are or what you are doing."
SmartSokoban has just been updated to version 2.0. My personally favorite Sokoban app for iPhone and iPad. New features:
iCloud integration
Sharing of levels: You can share a URL with others, the URL itself contains the level1. On iOS you’ll be taken to SmartSokoban, on other platforms the level is shown in the browser.
…which means if you manipulate some characters in the URL, you’ll get a different level. Make custom maps. ↩
It actually saved my butt today. I had my two local backups read-only. Disk Utility told me it would have to “replay” the disk. (Last comment on page.)
Screencaster's tip: Use shortcuts to select ScreenFlow's property panels
Following up on my post on switching TextExpander’s Abbreviation Mode With Shortcuts, I used the same technique to switch the different property panels in ScreenFlow. (Why Telestream, oh why, is there no shortcut already built-in???)
They “click” at a specific area calculated from the window’s upper right corner, which means you can resize the window and they’re still going to work.
You can use these macros as template to build more “non-standard” keyboard shortcuts.1
If necessary, set the Macro Group to only be available in ScreenFlow. They use the F1-F6 key to select the different tabs.
Oh, and I’ve included one that I always run before I do my editing in ScreenFlow. I called it “Make it zoom!” (available from Keyboard Maestro’s menubar icon) which does three things: zoom front windows, zoom canvas to original size, and zoom timeline to fit.
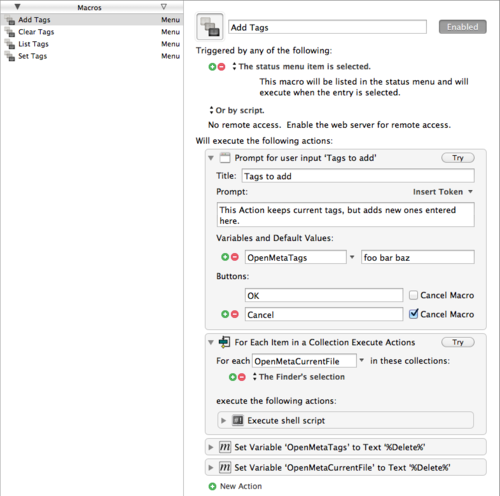
I built 4 macros for Keyboard Maestro that help you tag your files. Most of these use the new Each action built into Keyboard Maestro 5.1.
For easier inteaction a user dialog comes up, if necessary.
They have no keyboard shortcut assigned, but are available through the menubar.
Input is always the current Finder selection.
Actions:
Set Tags: Sets tags for a file, removes existing ones.
Add Tags: Adds new tags, doesn’t remove existing ones.
Clear Tags: Clears tags, doesn’t set new tags.
List Tags: Shows a window with the files selected, their tags, and their rating. If you’re not using ratings, add -t in the shell script right before -p "$KMVAR_OpenMetaCurrentFile".
The macros also make extensive use of Keyboard Maestro variables, but I like to set their value to %Delete% when their done. This way they don’t clutter up certain menus.
My thanks go to NeoFinder for sponsoring Mac OS X Screencasts this month!
NeoFinder The disk and data library cataloger (digital asset manager) for the Apple Macintosh.
NeoFinder (formerly known as CDFinder) rapidly catalogs your entire disk and media library, and backup archive.
NeoFinder keeps track of your documents, photos, songs, movies, and folders wherever they are stored.
NeoFinder is your digital treasure chest!